Email campaigns | Benefit of review collection campaigns | How to create campaigns | Invite history
What is an email campaign?
Email campaigns are a powerful tool for easy and automatic review collection. With the help of our system, you can create automatic review collecting emails that will be sent out to your customers.
The benefits of review collection campaigns
- 90% of potential customers check reviews before purchasing
- Fully automatic way of collecting reviews for your business
- Collects as much real customer feedback as possible
- No programming skills needed
- Easy to set up under 2 minutes
- Follow up on your campaigns – see exactly what worked for you in Invite history
Intelligent Review Invitation System
If you want to filter out negative reviews, start to use the intelligent invitation system!
- If your client wants to rate you 1, 2 or 3 stars, we offer the option to contact your customer support directly to resolve the issue first.
- But if they choose to give you 4 or 5 stars, we redirect them to a link to share their feedback on your company!
How to collect customer reviews automatically
Step 1:
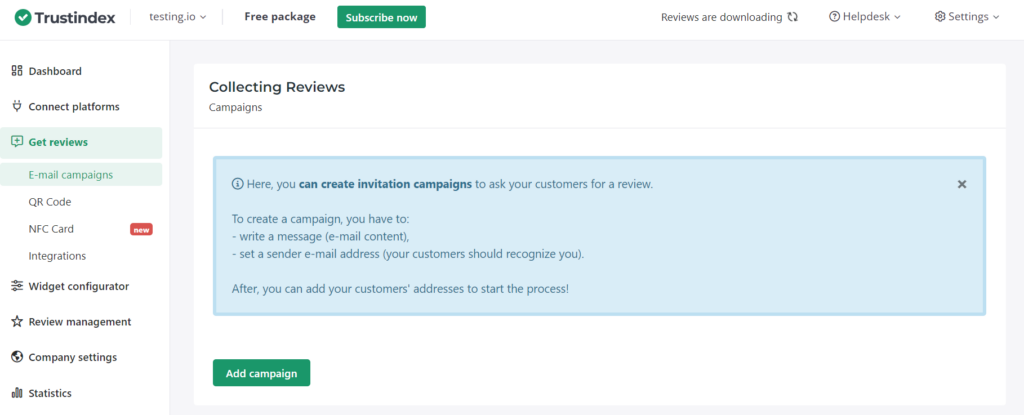
To launch a new review collecting campaign, or to access the reports of previous ones, click the last step (“Collect Real Customer Reviews”) of the Setup Guide on the Dashboard, or „Get Reviews > Email campaigns” in the left side menu.
Step 2:
Click on the “Add campaign” button to create a new email campaign.
You can add the content of your email, or simply choose one of our email templates.
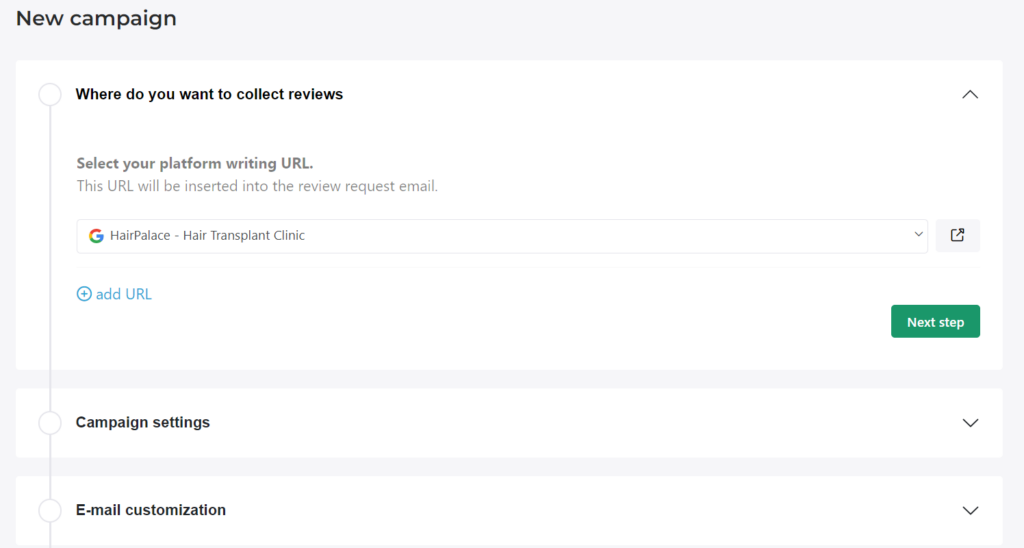
Here you can set how you want to send your emails, and you also have the option to use a separate SMTP server, if you have one.
Step 3:
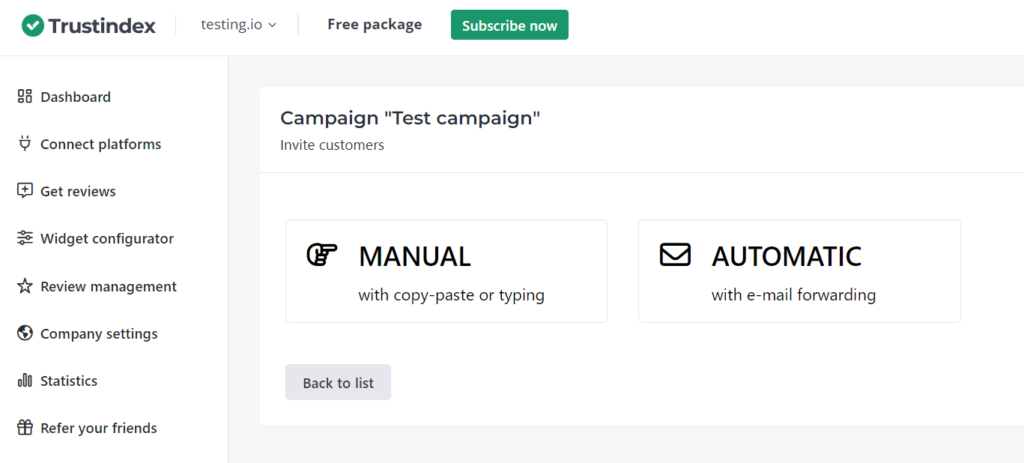
In this step, you can add your email list to the campaign by copy and pasting it manually, or in a fully automated way, by connecting your website or webshop with your Trustindex account.
Step 3/A:
Click on the “Manual” button, and paste all the email addresses you want to include into the spreadsheet.

After you click on “Next step”, you can check the email addresses you added once again.
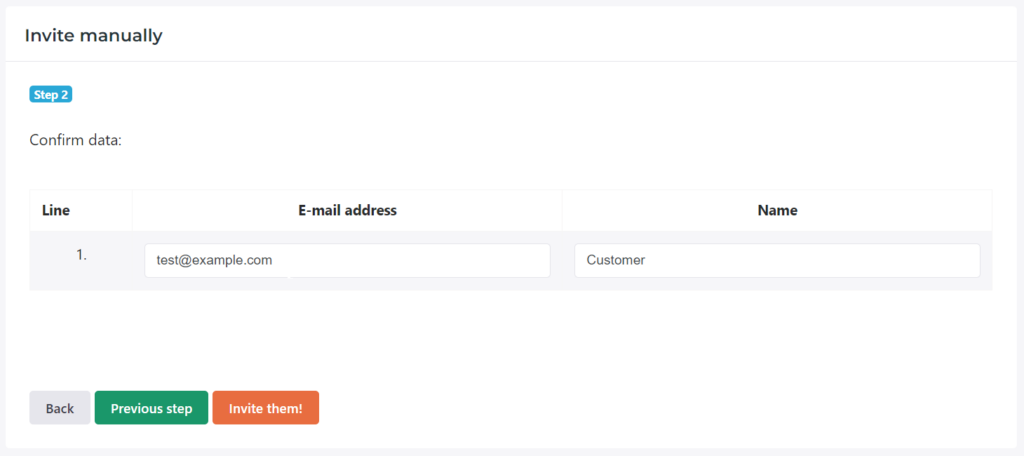
If you find everything in order, you can start sending the emails by clicking on “Invite them”.
Step 3/B:
Besides adding your email list manually, you can also automate the process. In this case, if a visitor requests a quotation or completes a purchase on your website, their email address will be forwarded automatically to your Trustindex account.
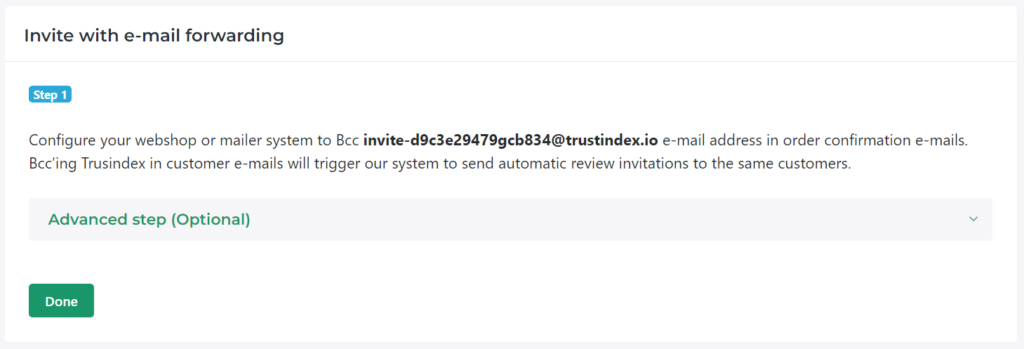
Essentially, the system’s operation is based on that you add the Trustindex email address, generated automatically for the campaign, to your automated Thank you emails as a BCC (Blind Carbon Copy).
As a result, your clients’ email addresses will be forwarded automatically to Trustindex’s system, and you can create scheduled campaigns.
Invite history
You will find your invite history in the same menu under your already existing caampaigns where the email campaign’s status is displayed, making it easy to track the status of your mails.